

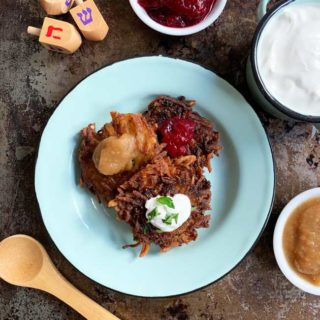
Crispy potato pancakes, or latkes are such a treat for celebrating Hanukkah. If you're looking for the best latke recipe, you're in the right place! This recipe includes all the step-by-step instructions to get you the crispiest result every time!
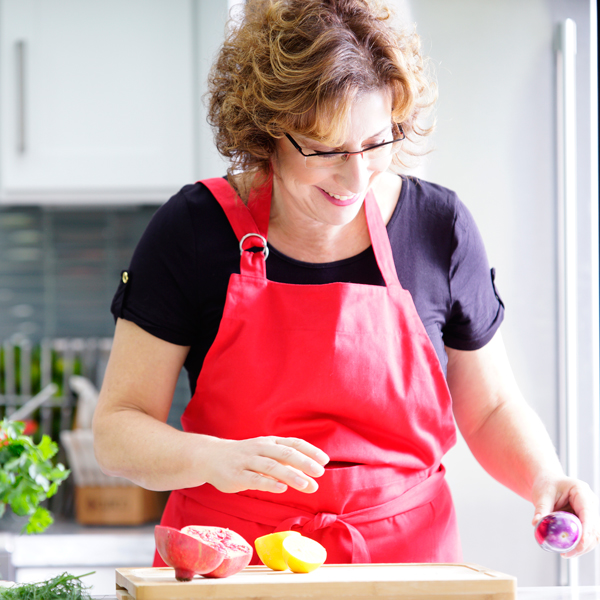
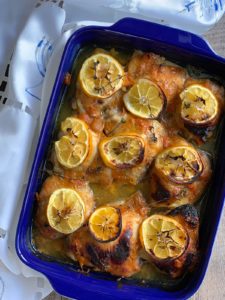
A great side dish to serve with latkes is apricot jam chicken!
For ease of browsing, here are all my Hanukkah recipes in one place.
This post contains Amazon affiliate links. As an Amazon Influencer, I earn from qualifying purchases. Your price is never affected.
Table of contents
Is there really a best latke recipe?
After doing a lot of research, I realize there are as many opinions about the best latke recipe as there are viewpoints about how to make a fluffy matzo ball! Fortunately, you needn’t waste your breath arguing over what method works best. Just sort through the tips and tricks section of this post or jump straight to my recipe at the end of the post. If you can’t decide, there are eight days of Chanukah – try them all.
Why you'll love my recipe
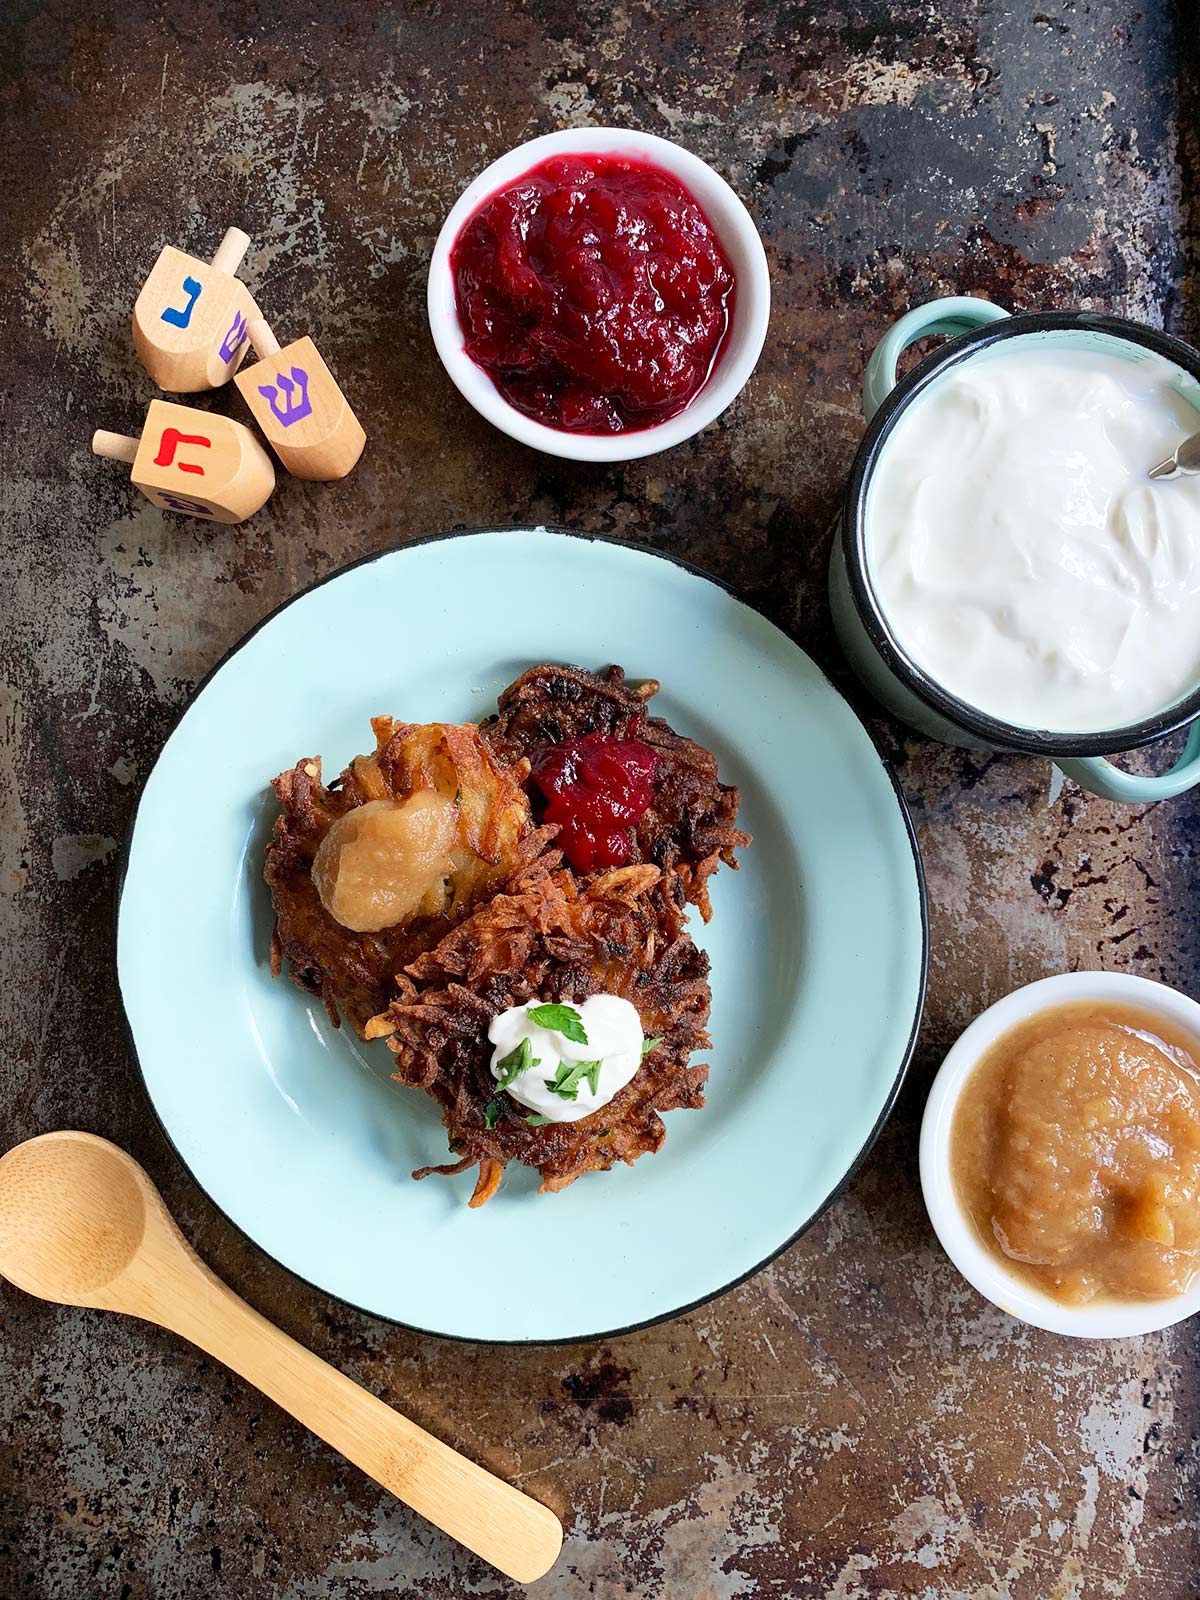
My recipe delivers a classic crispy potato pancake, whether you are a novice or experienced latke maker. I love a variation with sweet potatoes or root vegetables but if I'm only eating latkes once, I personally gotta have a classic crispy potato latke with sour cream and applesauce.
My recipe walks you through all the steps, offering you tips and tricks along the way for everything from shredding the potatoes to frying the potato pancakes.
And I share the big secret that changed my latke life! Why yes you can reheat to crispy and you know what that means - you can make your crispy potato pancakes ahead of time!
Ingredients you'll need
Ending up with a crispy potato latke is more about technique than ingredients. The basic latke will always have potatoes, onions, eggs, some kind of binder and salt and pepper. It's how you manipulate these simple ingredients that matters the most!
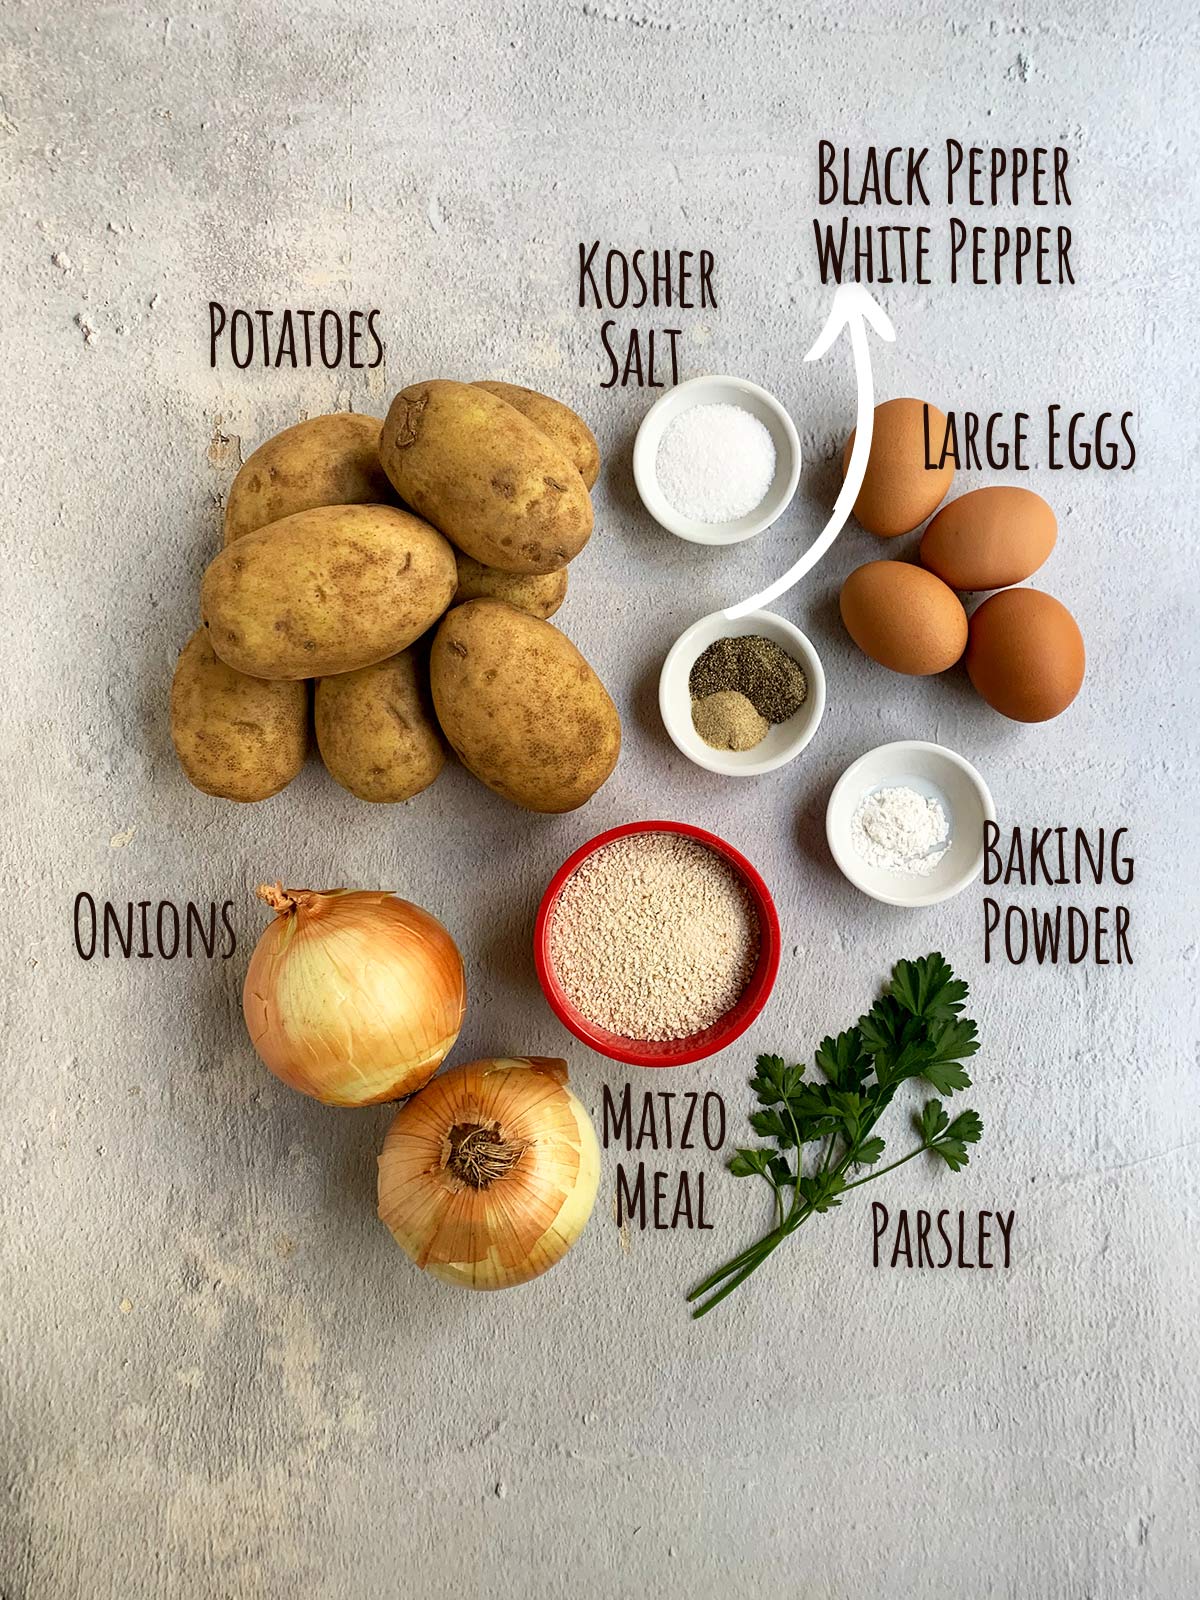
- Potatoes: I usually just use russets because their high starch content is handy and they are usually the cheapest!
- Onions: Basic yellow onions are what I always use.
- Eggs: I always use large eggs
- Matzo meal: Some people use other binders either for preference or for dietary reasons. For me, matzo meal feels classic but if you are out, grab some flour and don't worry!
- White and black pepper: I like to use both - adds an extra layer of subtle flavor.
- Kosher salt: Important for the batter and when you take them out of the frying pan.
- Parsley: Not mandatory but it adds some color and contrast. Dill would also be nice.
How to make this recipe
The two key stages of this recipe are preparing the batter and then frying the latkes.
Preparing the batter
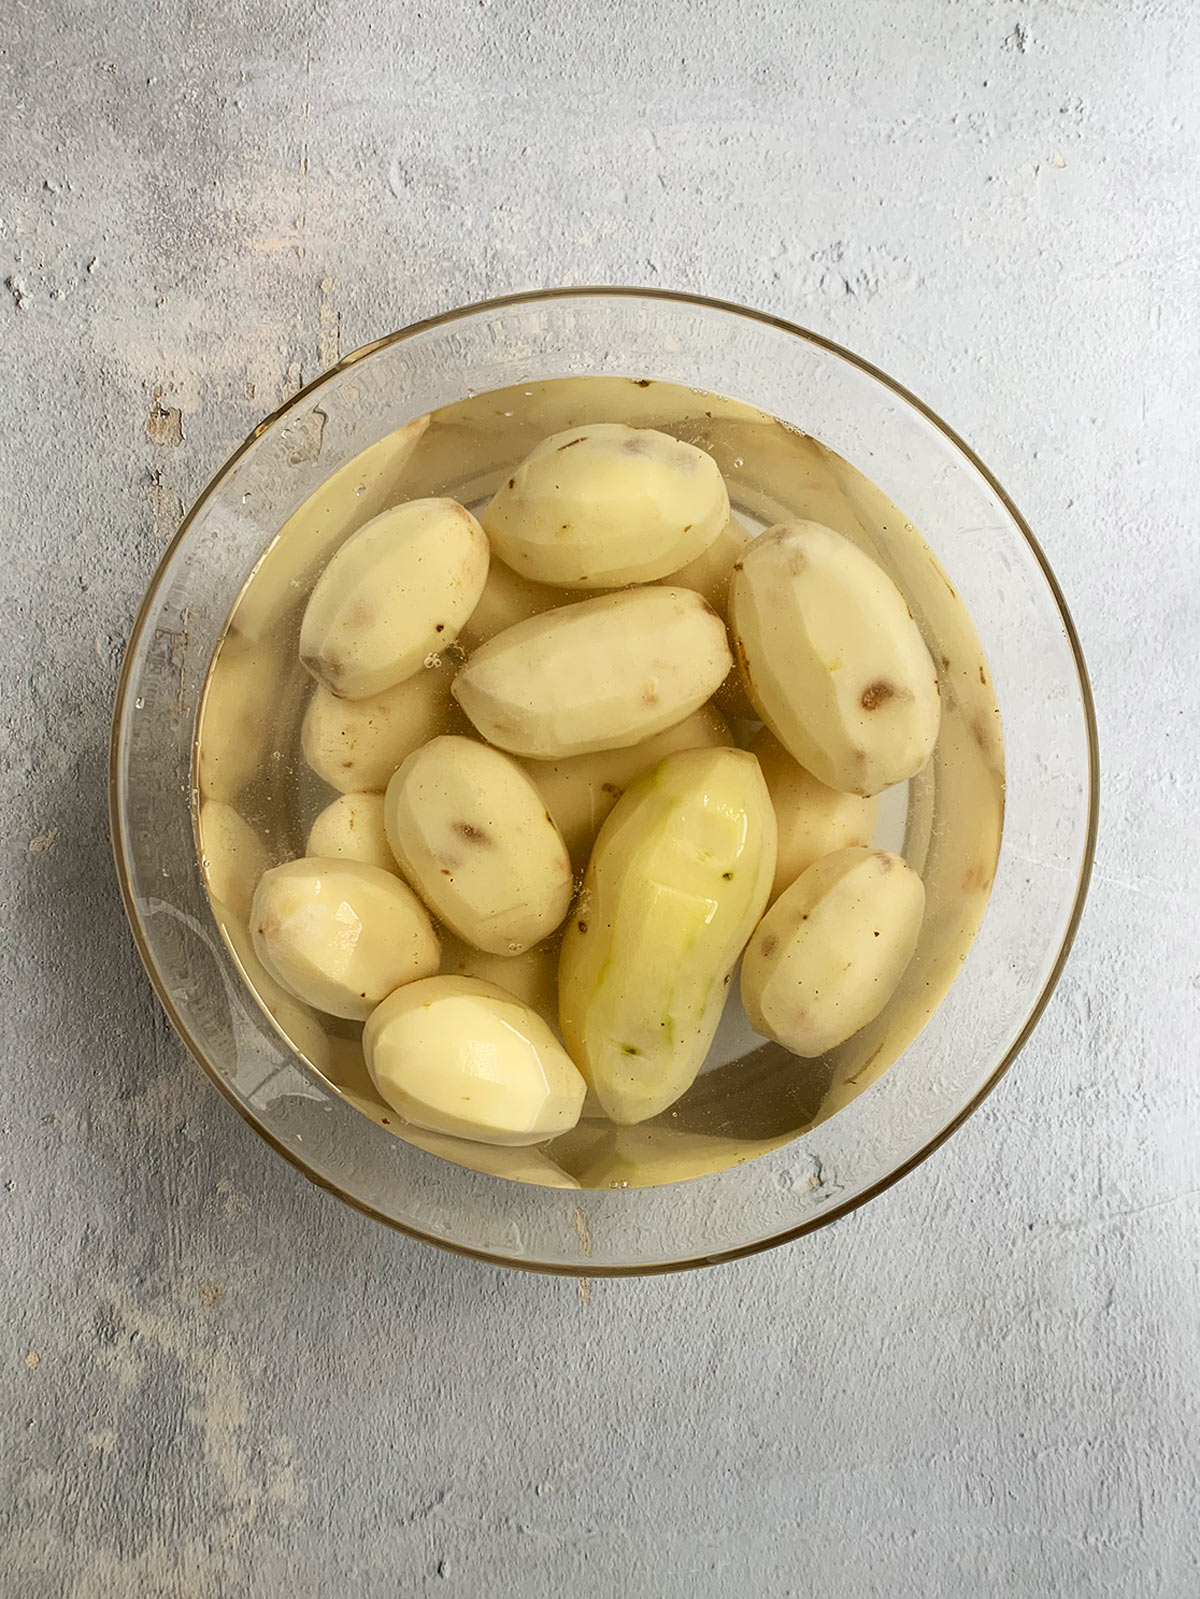
I keep a large bowl of water nearby and after I peel each potato, I place it in the cold water. This prevents browning and gives them an extra rinse. I dry each one off quickly before cutting and grating. No need to add even more liquid to our potato mixture.
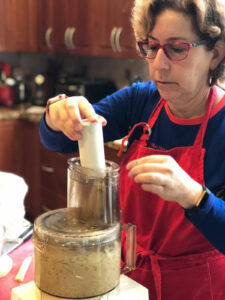
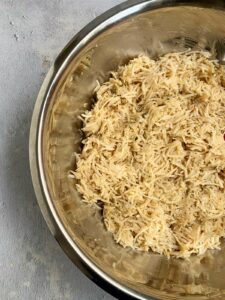
2. Grate the onions and potatoes. I use a food processor. Others grate by hand. I am a realist. Enough said.

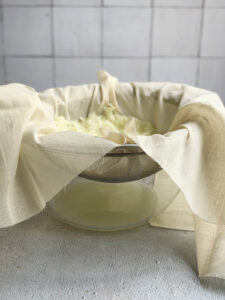
3. Have a strainer lined with cheesecloth or a towel ready nearby over a large bowl. As your food processor fills up, you can empty it in this bowl.
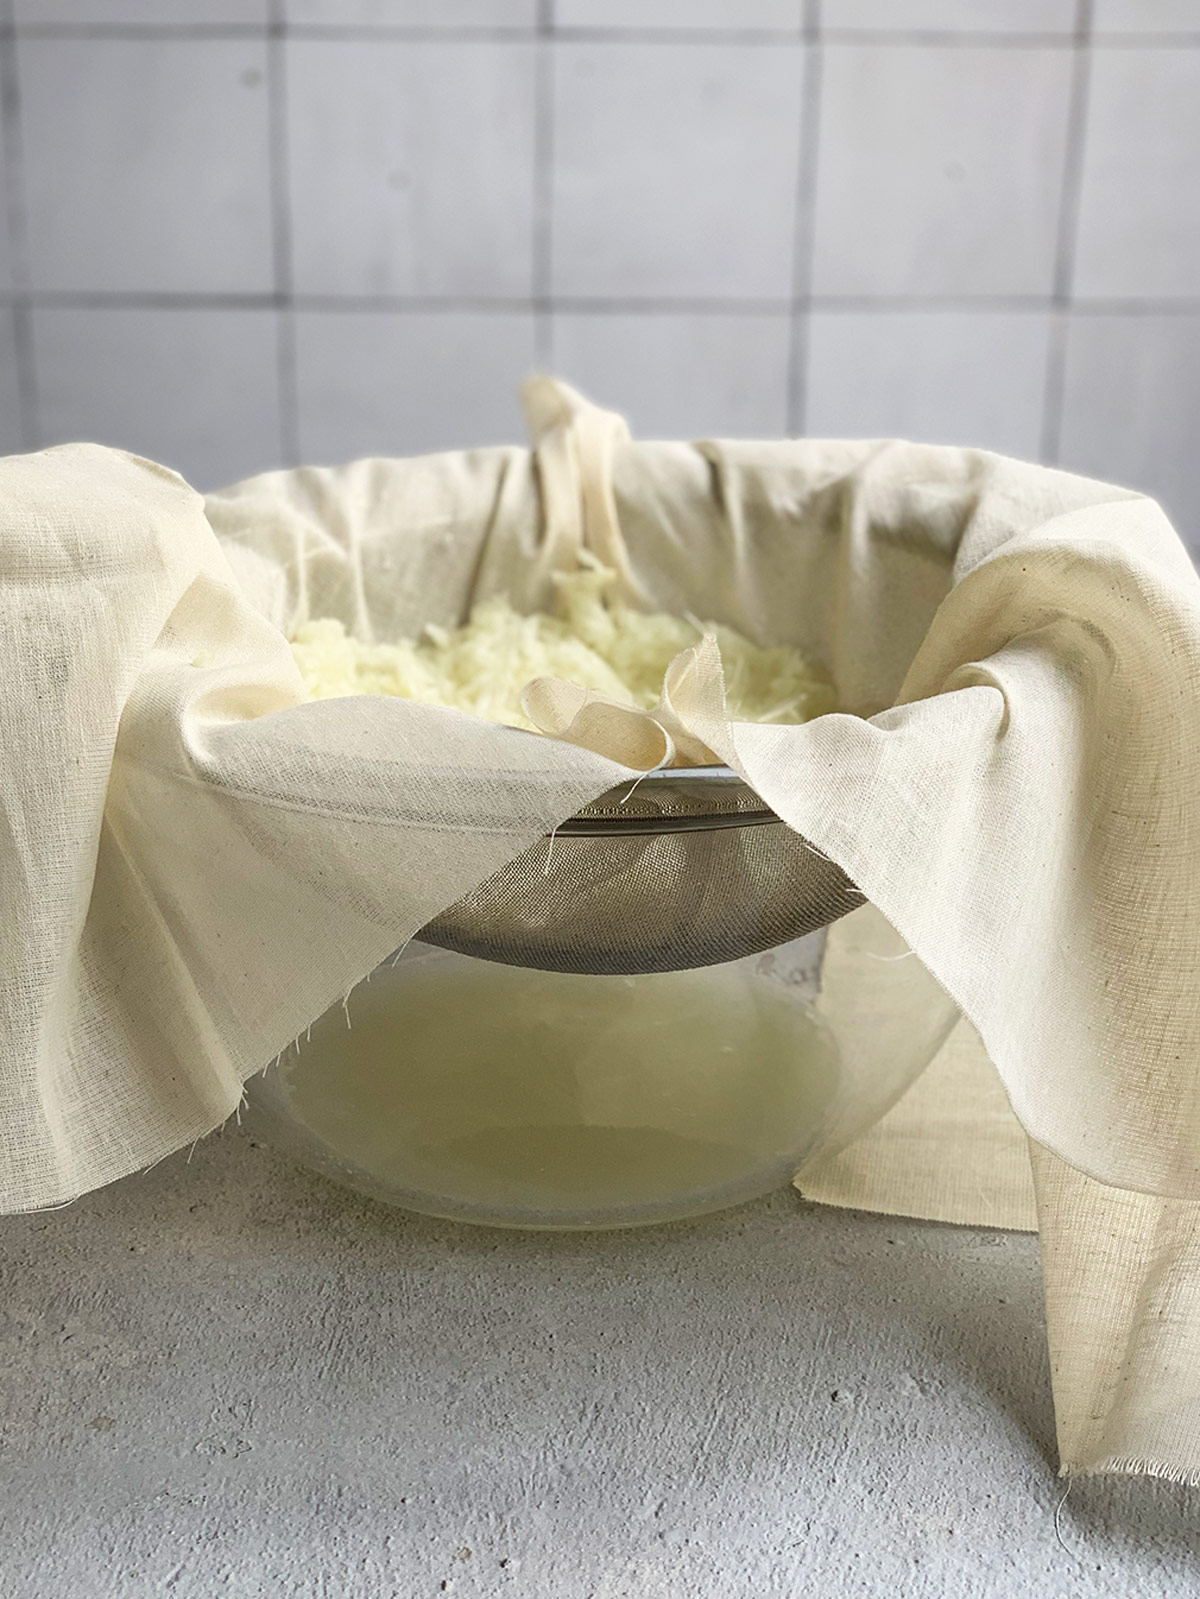
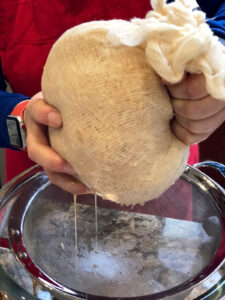
4. Squeeze as much of the liquid as possible out of the potato onion mixture.
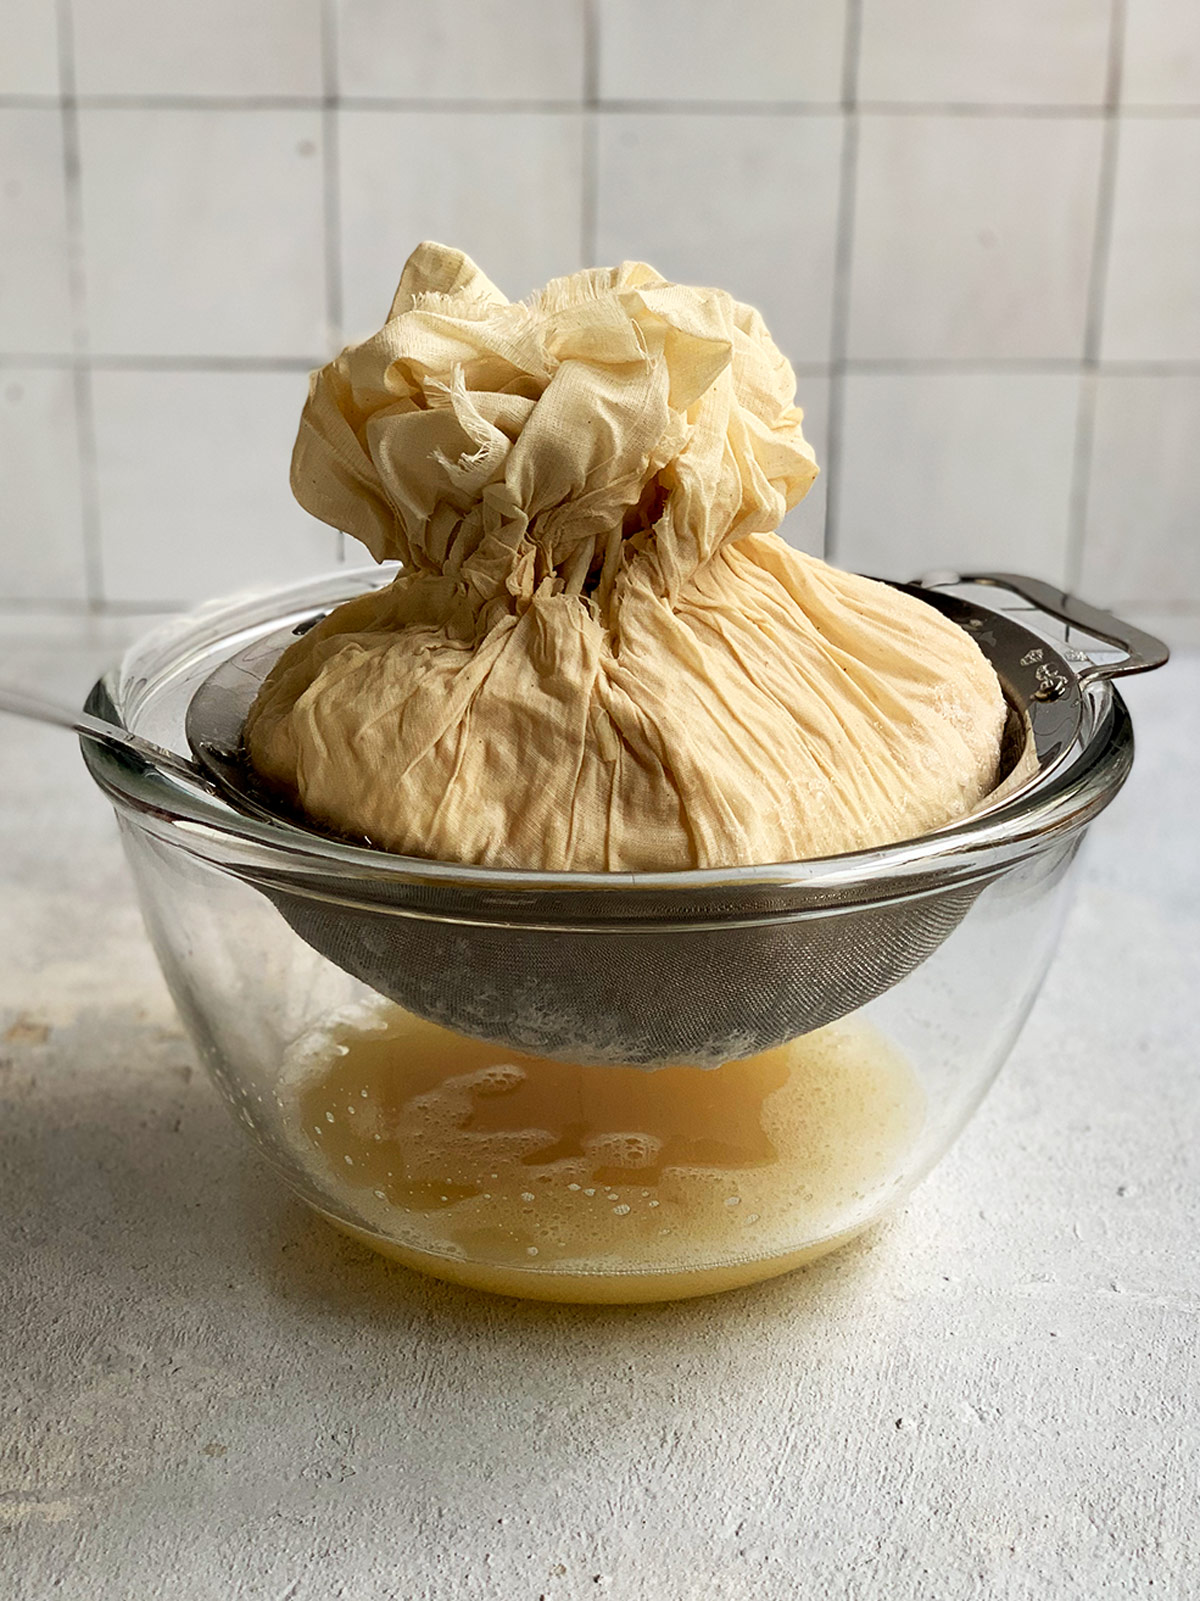
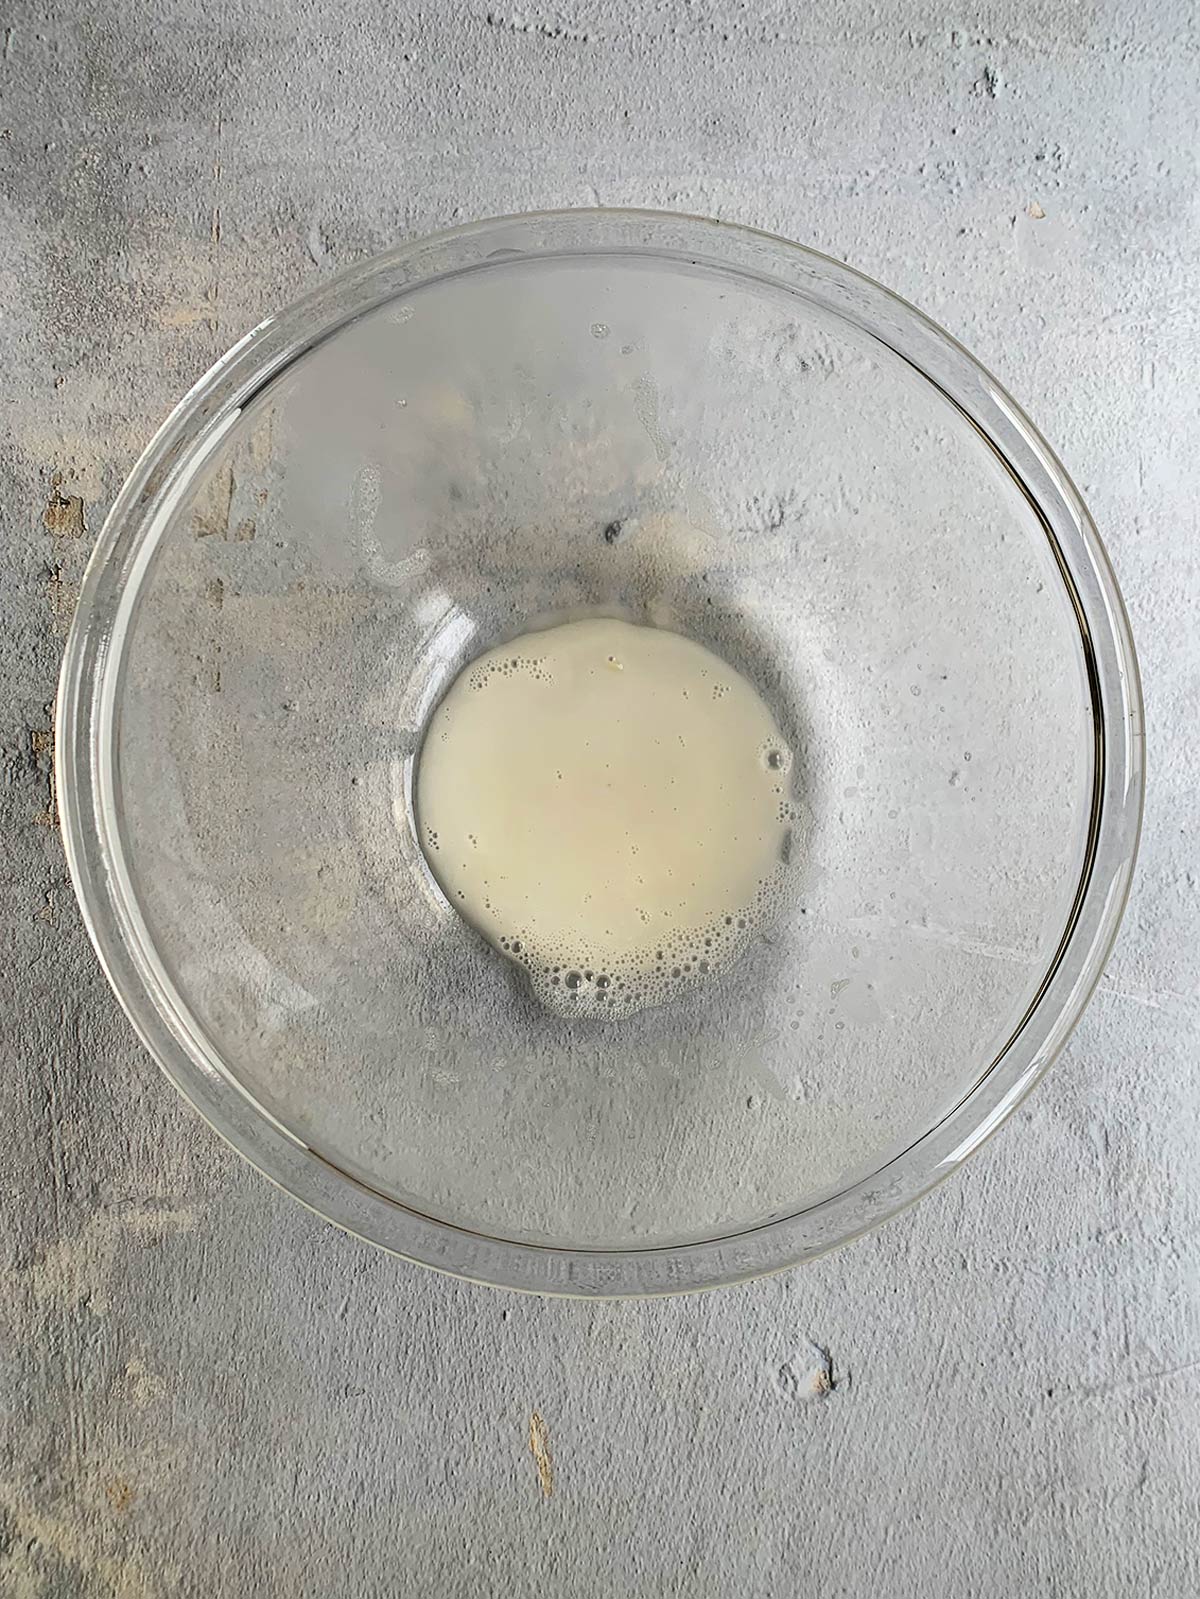
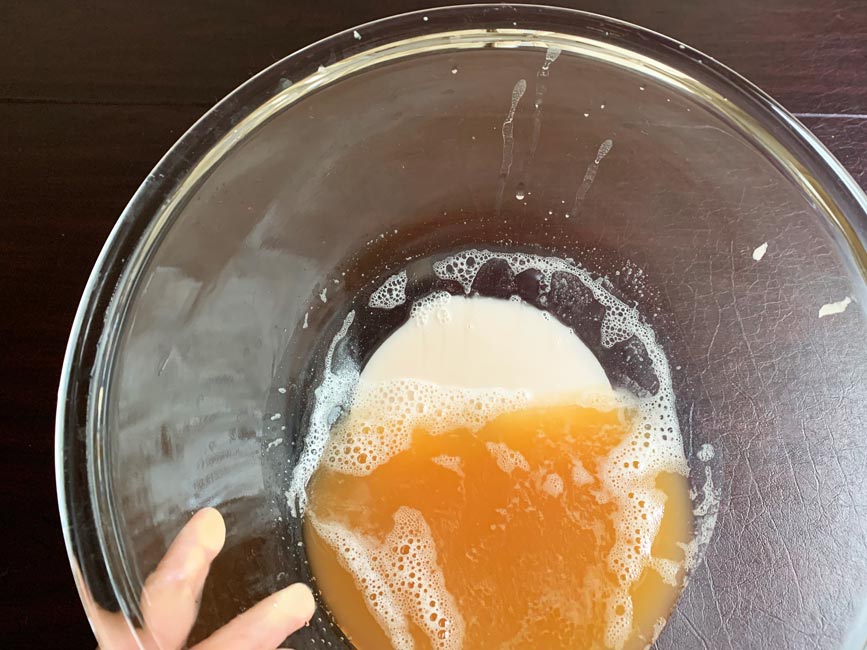
5. Before you toss that liquid, save the potato starch accumulated at the bottom of the bowl. Add this starch to your batter mixture. Pro-tip: you might even mix your batter right in this bowl if it's big enough!
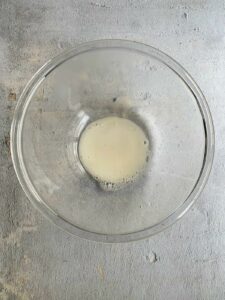
6. In a separate bowl mix the eggs, baking powder, matzo meal, white and black pepper, salt, and parsley.
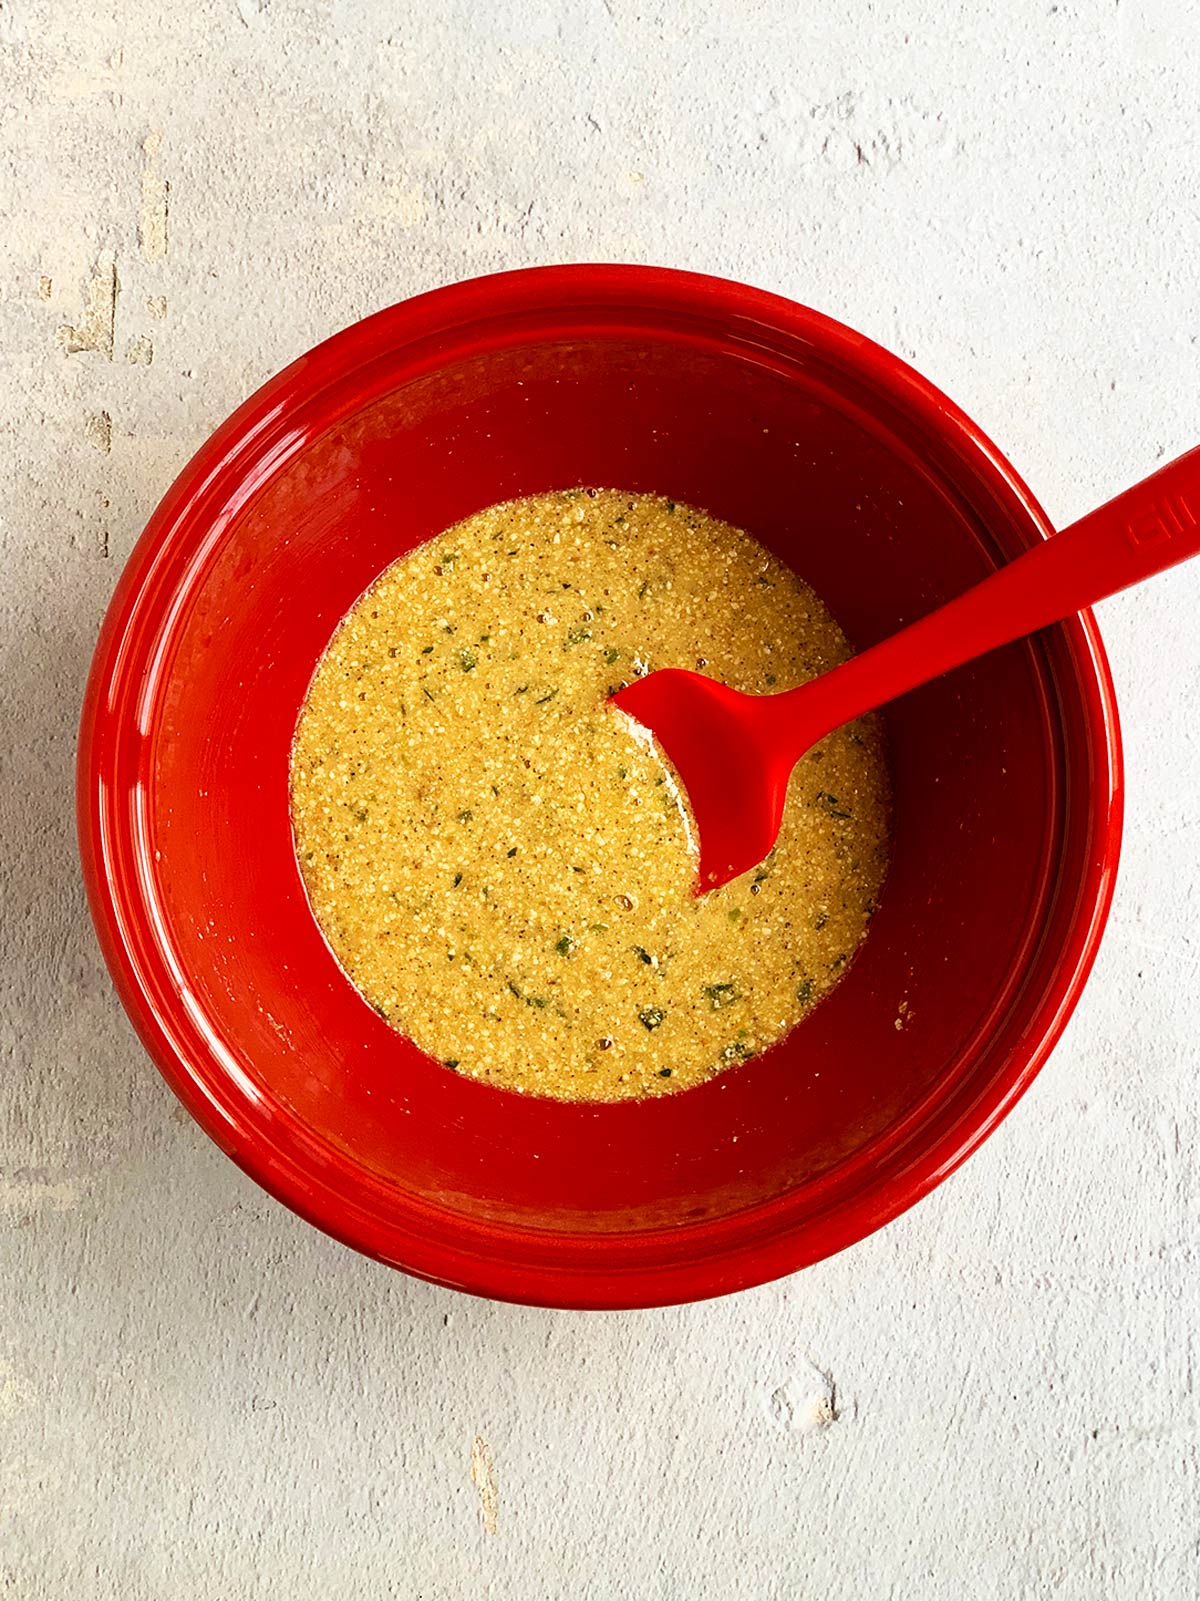
7. Mix the strained potato and onion mixture with the egg mixture in a large bowl. (could be the same bowl the starch was in!)

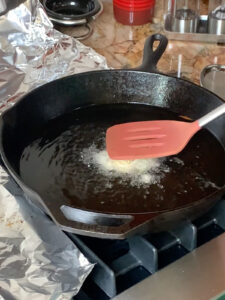
Frying the pancakes
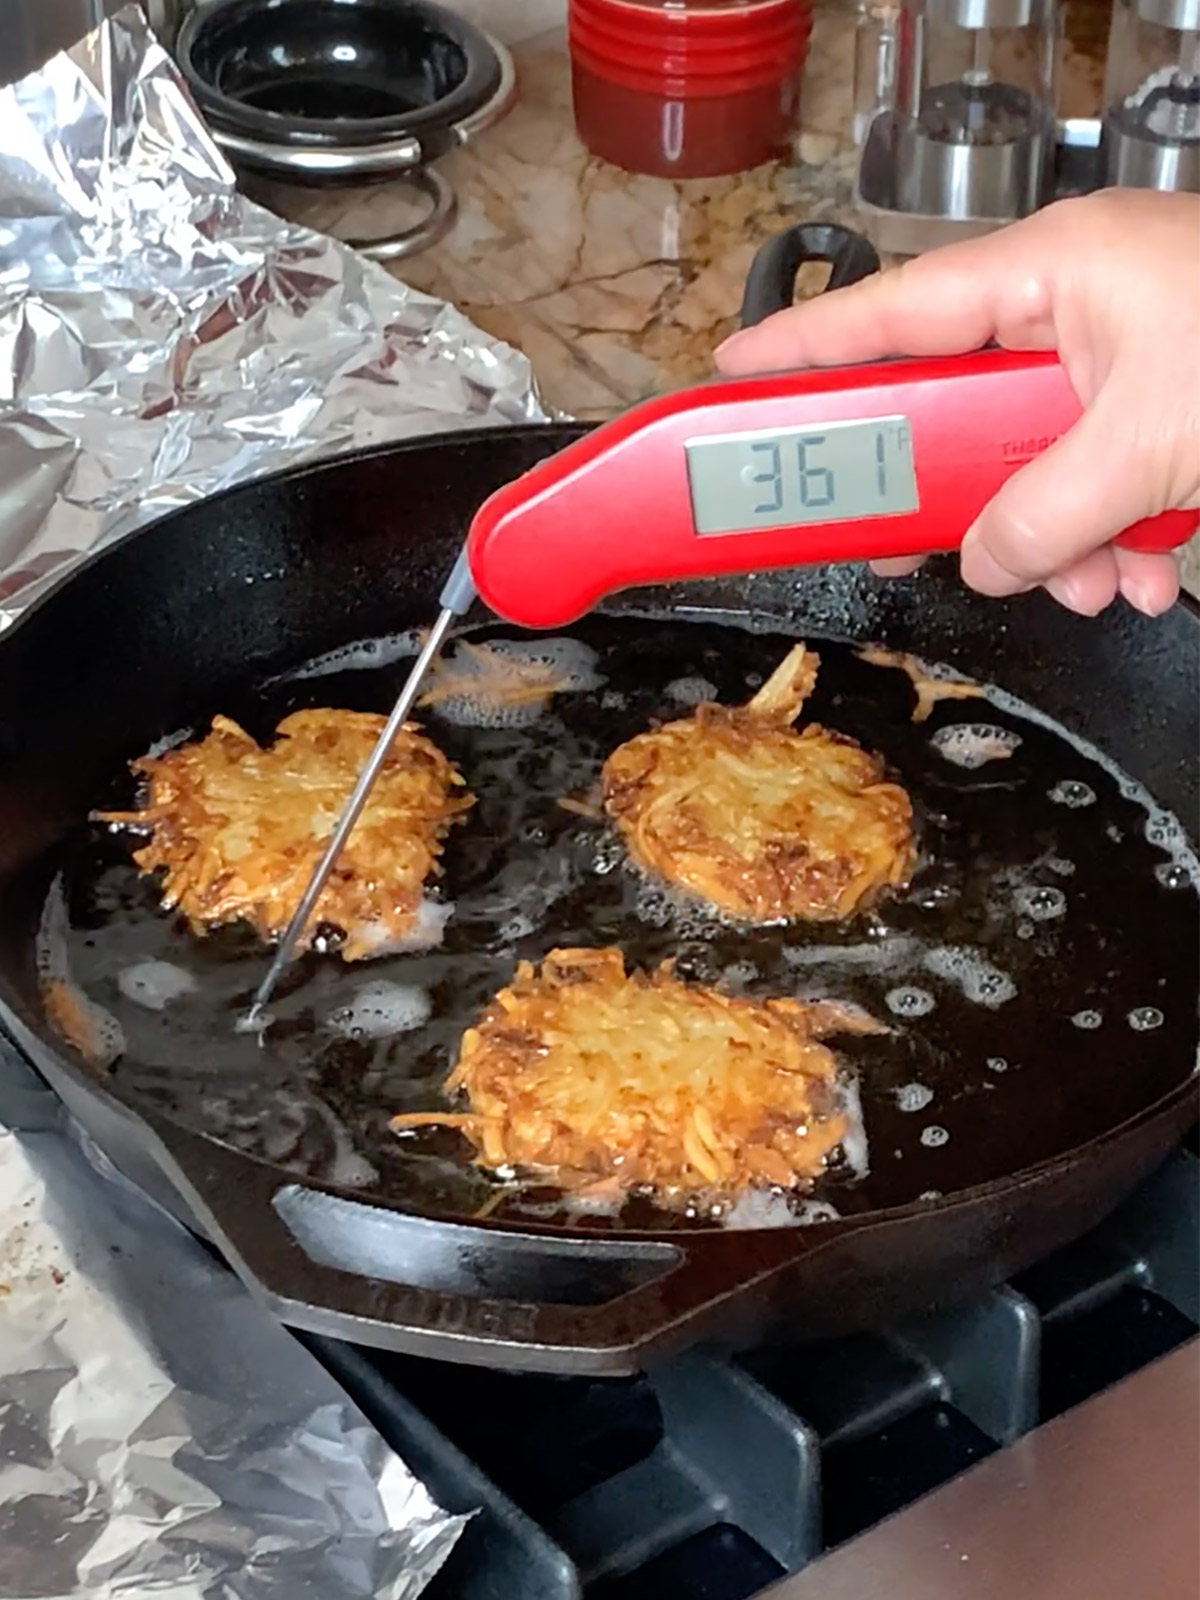
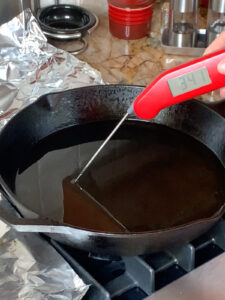
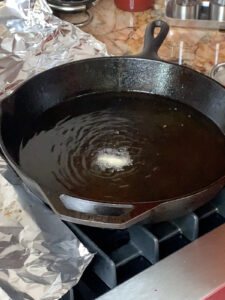
8. Prepare two or three paper-towel-lined sheet pans and preheat the oven to 200 degrees to keep cooked latkes warm. Heat one or two frying pans with about ¼ - ½ inch of oil in them. Test a small piece of potato mixture to see if the oil is ready. Alternatively, use an instant read thermometer and look for a temperature of around 350°F.


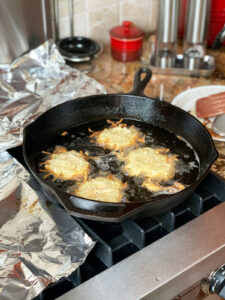
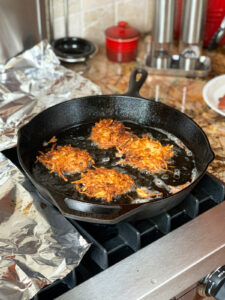
9. Drop about a ¼ cup of batter into the hot oil and flatten the batter immediately so it is an even depth and cooks all the way through. Don’t crowd the latkes when you drop the batter in. Turn over when nicely browned on the first side. (as my friend's mom used to say - nearly burnt but not quite!)


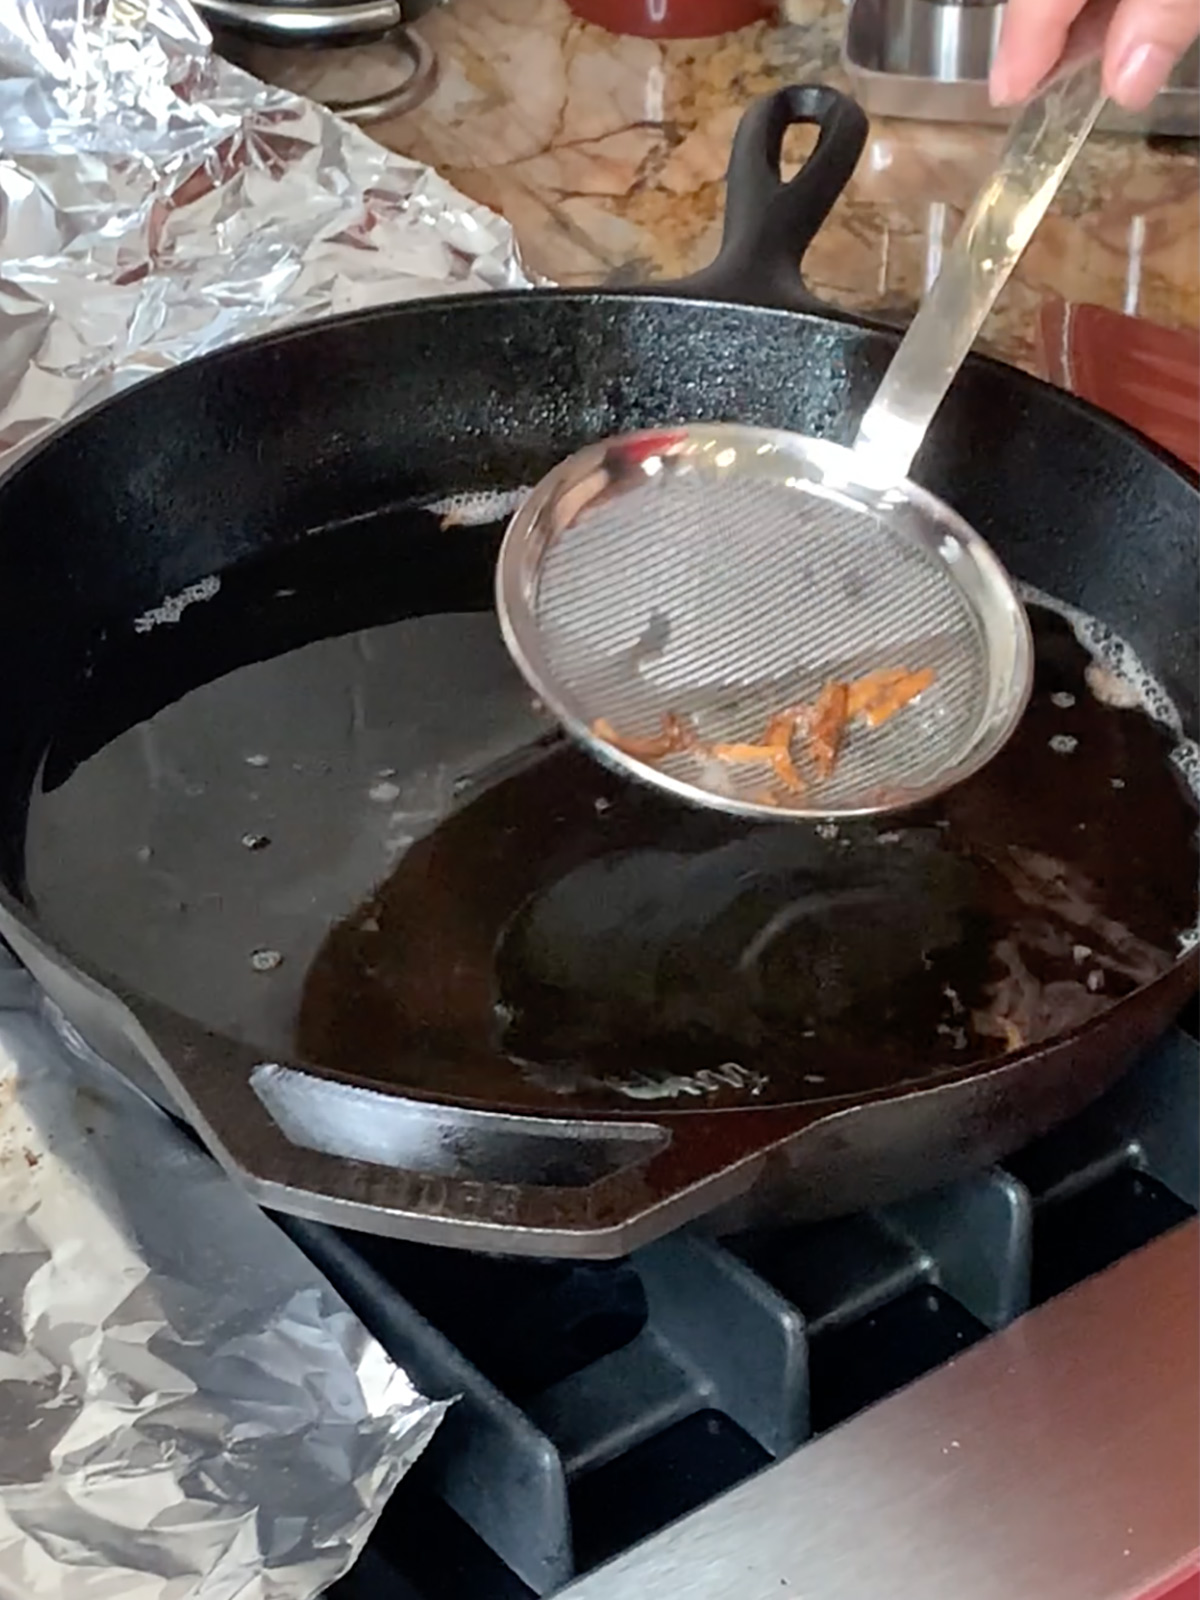
10. Every few batches, use a flat strainer or spoon to clear out the random pieces of burnt potato so they don't end up in your latkes!
Email this recipe to me!
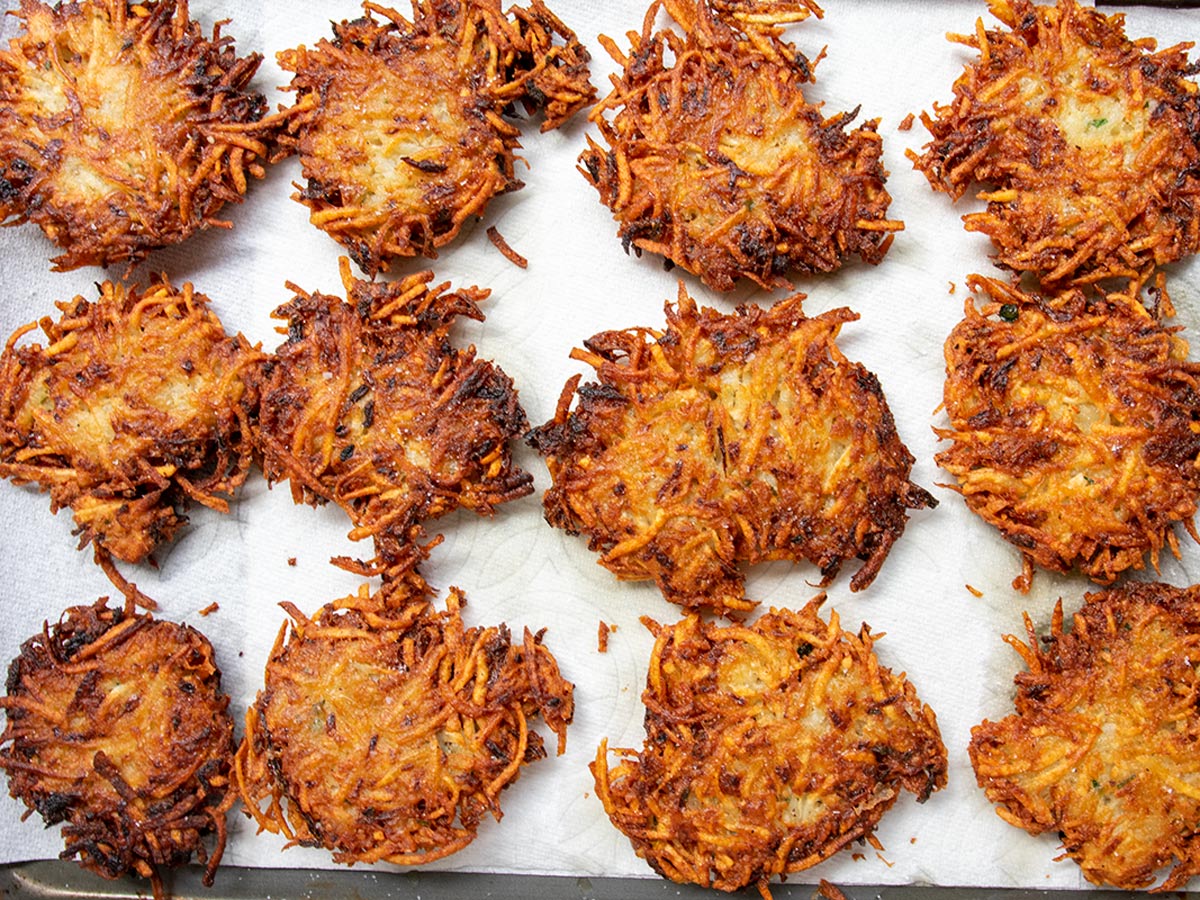
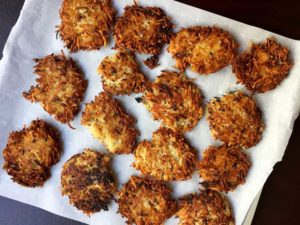
11. Place the crispy potato pancakes on the paper-towel lined sheet pans. Salt them immediately. If you salt while hot, it adheres and the latkes taste so good, your guests will tell you they are the best latkes ever!
Check out my latke recipe web story for a visual guide on how to make the crispiest potato pancakes ever!
Tips, tricks and FAQs for the best potato latke ever!
1. The onion/potato ratio:
Many people suggest that it is the magic of the ratio of potato to onion that makes the perfect latke. Some people use as much as one onion for every two potatoes. I don't subscribe to this 2 to 1 ratio, but if you want to use more onion, just be sure to get the liquid out of the batter for a certain crispy result.
2. Hand grating or food processor?
Many potato pancake experts insist you must hand grate your potatoes on a box grater for the ultimate potato flavor and texture for your pancakes. In this Guardian article by Dave Bry, you can digest all the pros and cons of this heated debate then decide for yourself. In my view, if hand grating means you won't bother to make potato latkes, then pull out the food processor! (I do!)
3. Strain, strain, strain
If you have cheesecloth in the house, it is a great tool for straining your potato onion mixture. No cheesecloth? Don't worry, a kitchen towel or just a very fine mesh strainer will do the trick!
Wring that liquid out but by the time you get to the bottom of the batter, you'll see some liquid again. That's ok, just strain each potato pile as you put it in the pan.

4. Maintain that oil temperature and don't crowd the pan!
Keep checking your oil temperature before putting more latkes in to fry. Adding cold batter immediately reduces the oil temperature in the pan.
The corollary is don't crowd the pan. The oil temperature will fall too much and take too long to return to 350°F. If the oil is too cold, mostly the pancakes will soak up the oil, rather than the oil doing its job of cooking the potato mixture!
Corollary 2 is don't be shy with how much oil you use. The oil creates a heat bath for the latkes to cook in - not enough and they just soak up the oil without getting crispy or cooking throughout.
5. Use potato starch from the bottom of the bowl
I always use the accumulated potato starch from the bottom of the liquid I squeeze out of the potatoes. Just mix it into your latke batter - it will help crisp up the latkes.
6. Use baking powder to make them lighter
I use some baking powder in my batter to lighten them up just a bit. Will your pancakes fail if you don't use it. No! Fry away. They'll still be great.
7. Salt right after they come out of the fryer
Get a helper and salt your latkes right after you take them out of the pan so the latke and salt become one with each other. Do this please! (You'll thank me.)

FAQs about potato latkes
Yes! You can reheat latkes to their crispy state – a true revelation if you are trying to feed a crowd and might actually like to visit with them while they eat your latkes. I have done this in my own home and transporting latkes to someone else's house. It really works. If your latkes start crispy, they will reheat to crispy!
I have not personally done this, but have seen recipes that do. Not only will this substitution work, but corn starch has the added benefit of aiding in crispiness. Another sure fire way to ensure a crispy potato pancake every time!
Many different opinions on this. I like to use matzo meal which also makes these latkes Passover ready. But should you panic if you don't have matzo meal and have to use flour? -- NO! Go for it, many latke mavens use flour and serve crispy pancakes year after year.
But if you celebrate Passover and didn't quite finish that can of matzo meal - here's your chance! 🤣
My potato latke recipe uses canola or vegetable oil, both of which can handle high heat. But more and more information suggests that olive oil can also withstand the temperature needed to fry these crispy potato pancakes. Another suggestion is peanut oil but I tend to steer clear of this just in case I have guests with peanut allergies.
Chanukah celebrates the miracle of the oil lasting for eight days when it was supposed to last only one day. So fried foods honor this miracle. Another fried food that is common to eat in many parts of the world are donuts - sufganiyot, bombolini, bimuelos, sfenj and more!
What to serve with crispy potato pancakes
Toppings for latkes
The traditional toppings are sour cream and applesauce. Making your own applesauce is really easy. Jenni from the blog Pastry Chef Online has recipes from apple butter to apple sauce.
Or try something new! Top your latkes with cranberry sauce. Really. And specifically, try my cranberry orange jam. It is so easy to make, has apple in it, and you can make it for Thanksgiving and just save a jar in the fridge for Hanukkah. (Or make it again!)
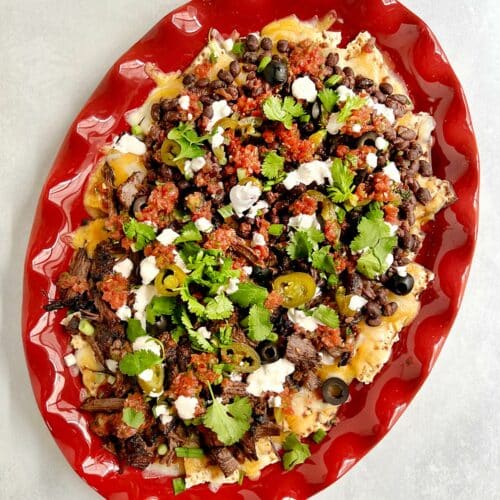
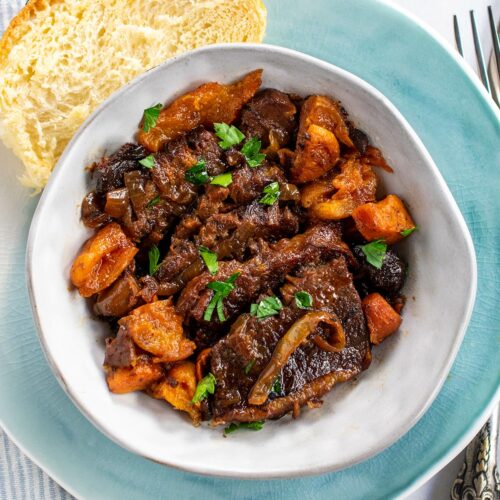
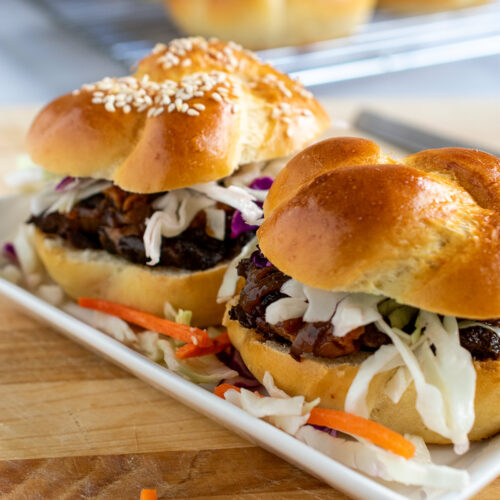
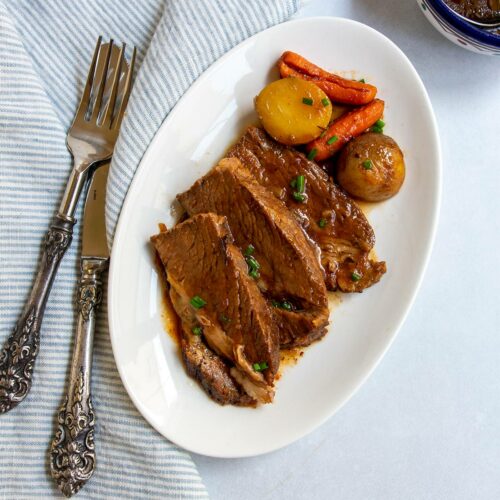
Perfect main course pairing with latkes: Brisket!
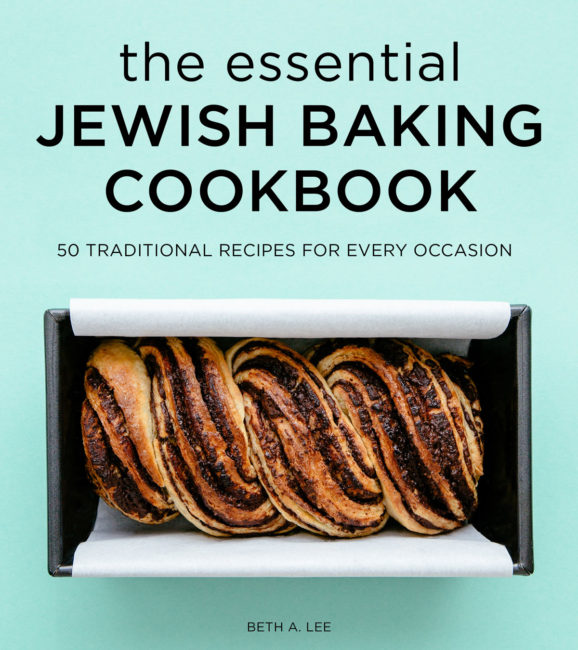
Buy my cookbook now!
P.S. If you try this recipe, please leave a star rating and/or a review in the comment section below. I so appreciate your feedback! AND find more inspiration on Pinterest, Facebook or Instagram. Signup for my email list, too!
The Best Potato Latke Recipe
Beth LeeIngredients
- 4 pounds russet potatoes peeled and grated by hand or in a food processor
- 2 medium onions grated by hand or in a food processor
- 4 eggs
- ½ teaspoon baking powder
- ½ cup matzo meal
- ½ teaspoon white pepper
- 1 teaspoon black pepper
- 2 teaspoons kosher salt
- ⅓ cup chopped parsley optional
- oil of choice for frying
Instructions
- Grate your potatoes and onions.

- Have a strainer lined with cheesecloth or a towel ready over a large bowl.
- Squeeze as much of the liquid as possible out of the potato onion mixture.
- Before you toss that liquid, there should be some potato starch accumulated at the bottom of the liquid. Pour off the liquid reserving that potato starch and add that potato starch to your potato pancake batter.
- In a separate bowl mix the eggs, baking powder, matzo meal, white and black pepper, salt, and parsley.
- Put the strained potato and onion mixture back in the large bowl with the reserved potato starch. Add in the egg mixture and combine well.
- Have two or three paper towel lined sheet pans ready and the oven preheated to 200 degrees or so to keep cooked latkes warm. Heat one or two 10- or 12-inch frying pans on the stove top with a ¼ - ½ inch of oil in them. If you are working alone, I’d say use only one. Heat to about medium to medium high – you don’t want the oil to splatter but you want it to “get excited” when you drop in some latke batter. The proper temperature is 350°F - 375°F.
- Drop in a small amount and test it out. See if it starts to cook vigorously. And cook it through and taste it for flavor. You can adjust seasoning before cooking all of them.
- Flatten the batter right after you place it in the pan so it is an even depth and cooks all the way through. Don’t crowd them when you drop the batter in. Give them room to spread and room to cook.
- When they are dark brown on one side (nearly burnt as my friend's mom would say), flip them over.
- Remove them from the oil when the underside takes on the same color and place them on the paper-towel lined sheet pans.
- If you have a helper, have them salt them immediately. If you salt while hot, it adheres and the latkes taste so good, your guests will tell you they are the best latkes ever!

- If you are not serving them right away, they will crisp back up in a hot oven (recommend reheating on a baking sheet at 350°F - 375°F). Really they will. Don’t stress out trying to make enough latkes for a crowd while the crowd is there!


Notes
- Serve with sour cream, apple sauce or cranberry jam. Or if you are feeling fancy, serve with crème fraiche and smoked salmon or caviar!
- Be careful to strain as much liquid as possible out of your grated potatoes and onions.
- Bring your oil up to temperature between each batch of potato pancakes. Test with a small bit of potato or an instant-read thermometer.
- Latkes that start crispy, will reheat to be crispy. So don't be afraid of making your crispy potato pancakes ahead of time! Reheat on a baking sheet at 350°F - 375°F.
Nutrition
Enjoyed this post?
Sign up for my email list.
Check out my latke recipe web story for a visual guide on how to make the crispiest potato pancakes ever!

Leslie says
Any tips on baking and freezing the latkes in advance? We are no longer eating any fried foods at any time for any reason.
Beth Lee says
Hi Leslie, Well I tried the baked latke that was all over the internet last year (you can check Adeena Sussman's Instagram) and it didn't work for me. I think the issue is that you need the exact right sheet pan for it to work well - probably a non-stick new pan. But it's worth a go if you don't want to fry. Another idea is from Danastable.com - potato latke muffins (https://danastable.com/potato-latke-muffins-my-favorite-passover-recipe/#recipe). And a third idea is to make my potato kugel - I give instructions for making the top and bottom crispy and that gives you potato latke type of texture. And it comes together much more quickly and it's baked!(https://omgyummy.com/potato-kugel/) As for freezing, I believe that any potato latke/kugel that starts off crispy, is refrigerated or frozen, then reheated, will come back to being crispy. So go for it! Let me know if you have any other questions.
Rosemary Mark says
I used your recipe as a guide to make Japanese sweet potato and russet Latkes and wow they turned out perfect! Yes, a tad off-season for Latkes (we celebrated Christmukkah in May this year with family) and with summer weather did the frying outside. Winner winner! I’d love to post a picture here 🙂
Beth Lee says
OMG! What a fantastic idea and you know I love everything about this - the use of the Japanese sweet potato, the off-season celebration - all of it. Send me some pics and I'll share everywhere that I can. I wish you could add a photo in comments too but maybe I can add it to the post!
Sarah says
I’ve tried many latke recipes, and this one is my favorite! The process is straightforward, the instructions clear, and the results excellent. My daughter was helping me, and she thought the separation of the potato starch was exceptionally cool!
Beth Lee says
So great to hear, especially your daughter cooking with you! The potato starch thing always makes me smile - I even took a video of it again the other day cuz I just couldn't let the moment pass me by! Thanks for sharing your experience!
Mrs. Gina Wagner says
What temperature should be used in the oven to re-crisp pre made latkes??
Beth Lee says
Oh good question! I'll add that to the recipe! If I were keeping them warm straight from frying, I would probably just keep my oven between 200 and 250. For reheating from cold, I would suggest starting at 350. You know your oven best. If it runs hot or cold, bump it up to 375 or down to 325. You'll want them to get back to sizzling. And definitely only a single layer on each sheet pan or they will steam. And you don't want that. Let me know if you have any other questions and happy happy Hanukah!
Attyinny says
My tradition calls for making the latkes sweet, not savory. I never heard of putting onion or pepper in my latkes until much later in life
When I was growing up, latkes were served at the end of the meal with applesauce or a sprinkle of sugar.
Call me a dissident, but to this day, the notion of latkes with onion or pepper is profoundly unappealing.
Aside from that, I'm with you 100%.
Beth Lee says
So interesting to learn of other people's traditions. Love the idea of them served sweet without the savory add-ins!
Rachel says
Does it work just as well with this recipe to leave the potato skins on? I love the skins.
Beth Lee says
Oh what a great idea. I've never made them with skin on. But gosh I don't see why not! I may even try that this year!
Laura says
Oooh thank you for all these tips! I never thought to add baking powder to my latkes - mind blown!
Beth Lee says
I use it in my matzo balls too ... ssshhhh
Sandi says
I love how you show every single step!! This will make latke season so much easier.
Beth Lee says
Eating and making latkes should be fun - I hope all the tips and tricks that took me years to learn will hurry along the process for others!
Marcia Maiten says
Beth, this is my recipe for the easiest homemade applesauce. I make a batch every 2 weeks. We eat it foe dessert and sometimes i put it on cereal instead of milk.
Instant Pot Applesauce
8 Cosmic Crisp apples (Fuji, Honeycrisp also work) well rinsed, cored and cut into 1 or 1 1/2 inch pieces. Leave skins on.
1/2 cup water
1 or 2 teaspoons ground cinnamon
1/2 of a fresh squeezed lemon.
Add all ingredients to the Instant Pot and stir up.
Cover and set IP to Manual, high pressure, 8 minutes. When done let it depressure naturally for 8 to 11 minutes.
Use an immersion blender to blend to desired consistency. The less blended, the more taste of apple skins. Refrigerate for up to 2 weeks. It can be frozen.
Beth Lee says
I am going to try this! Thank you so much